Contents:
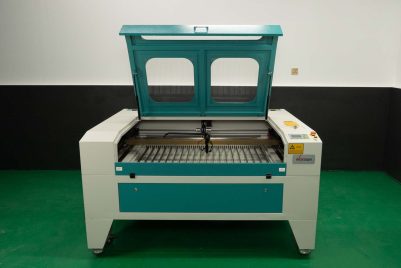
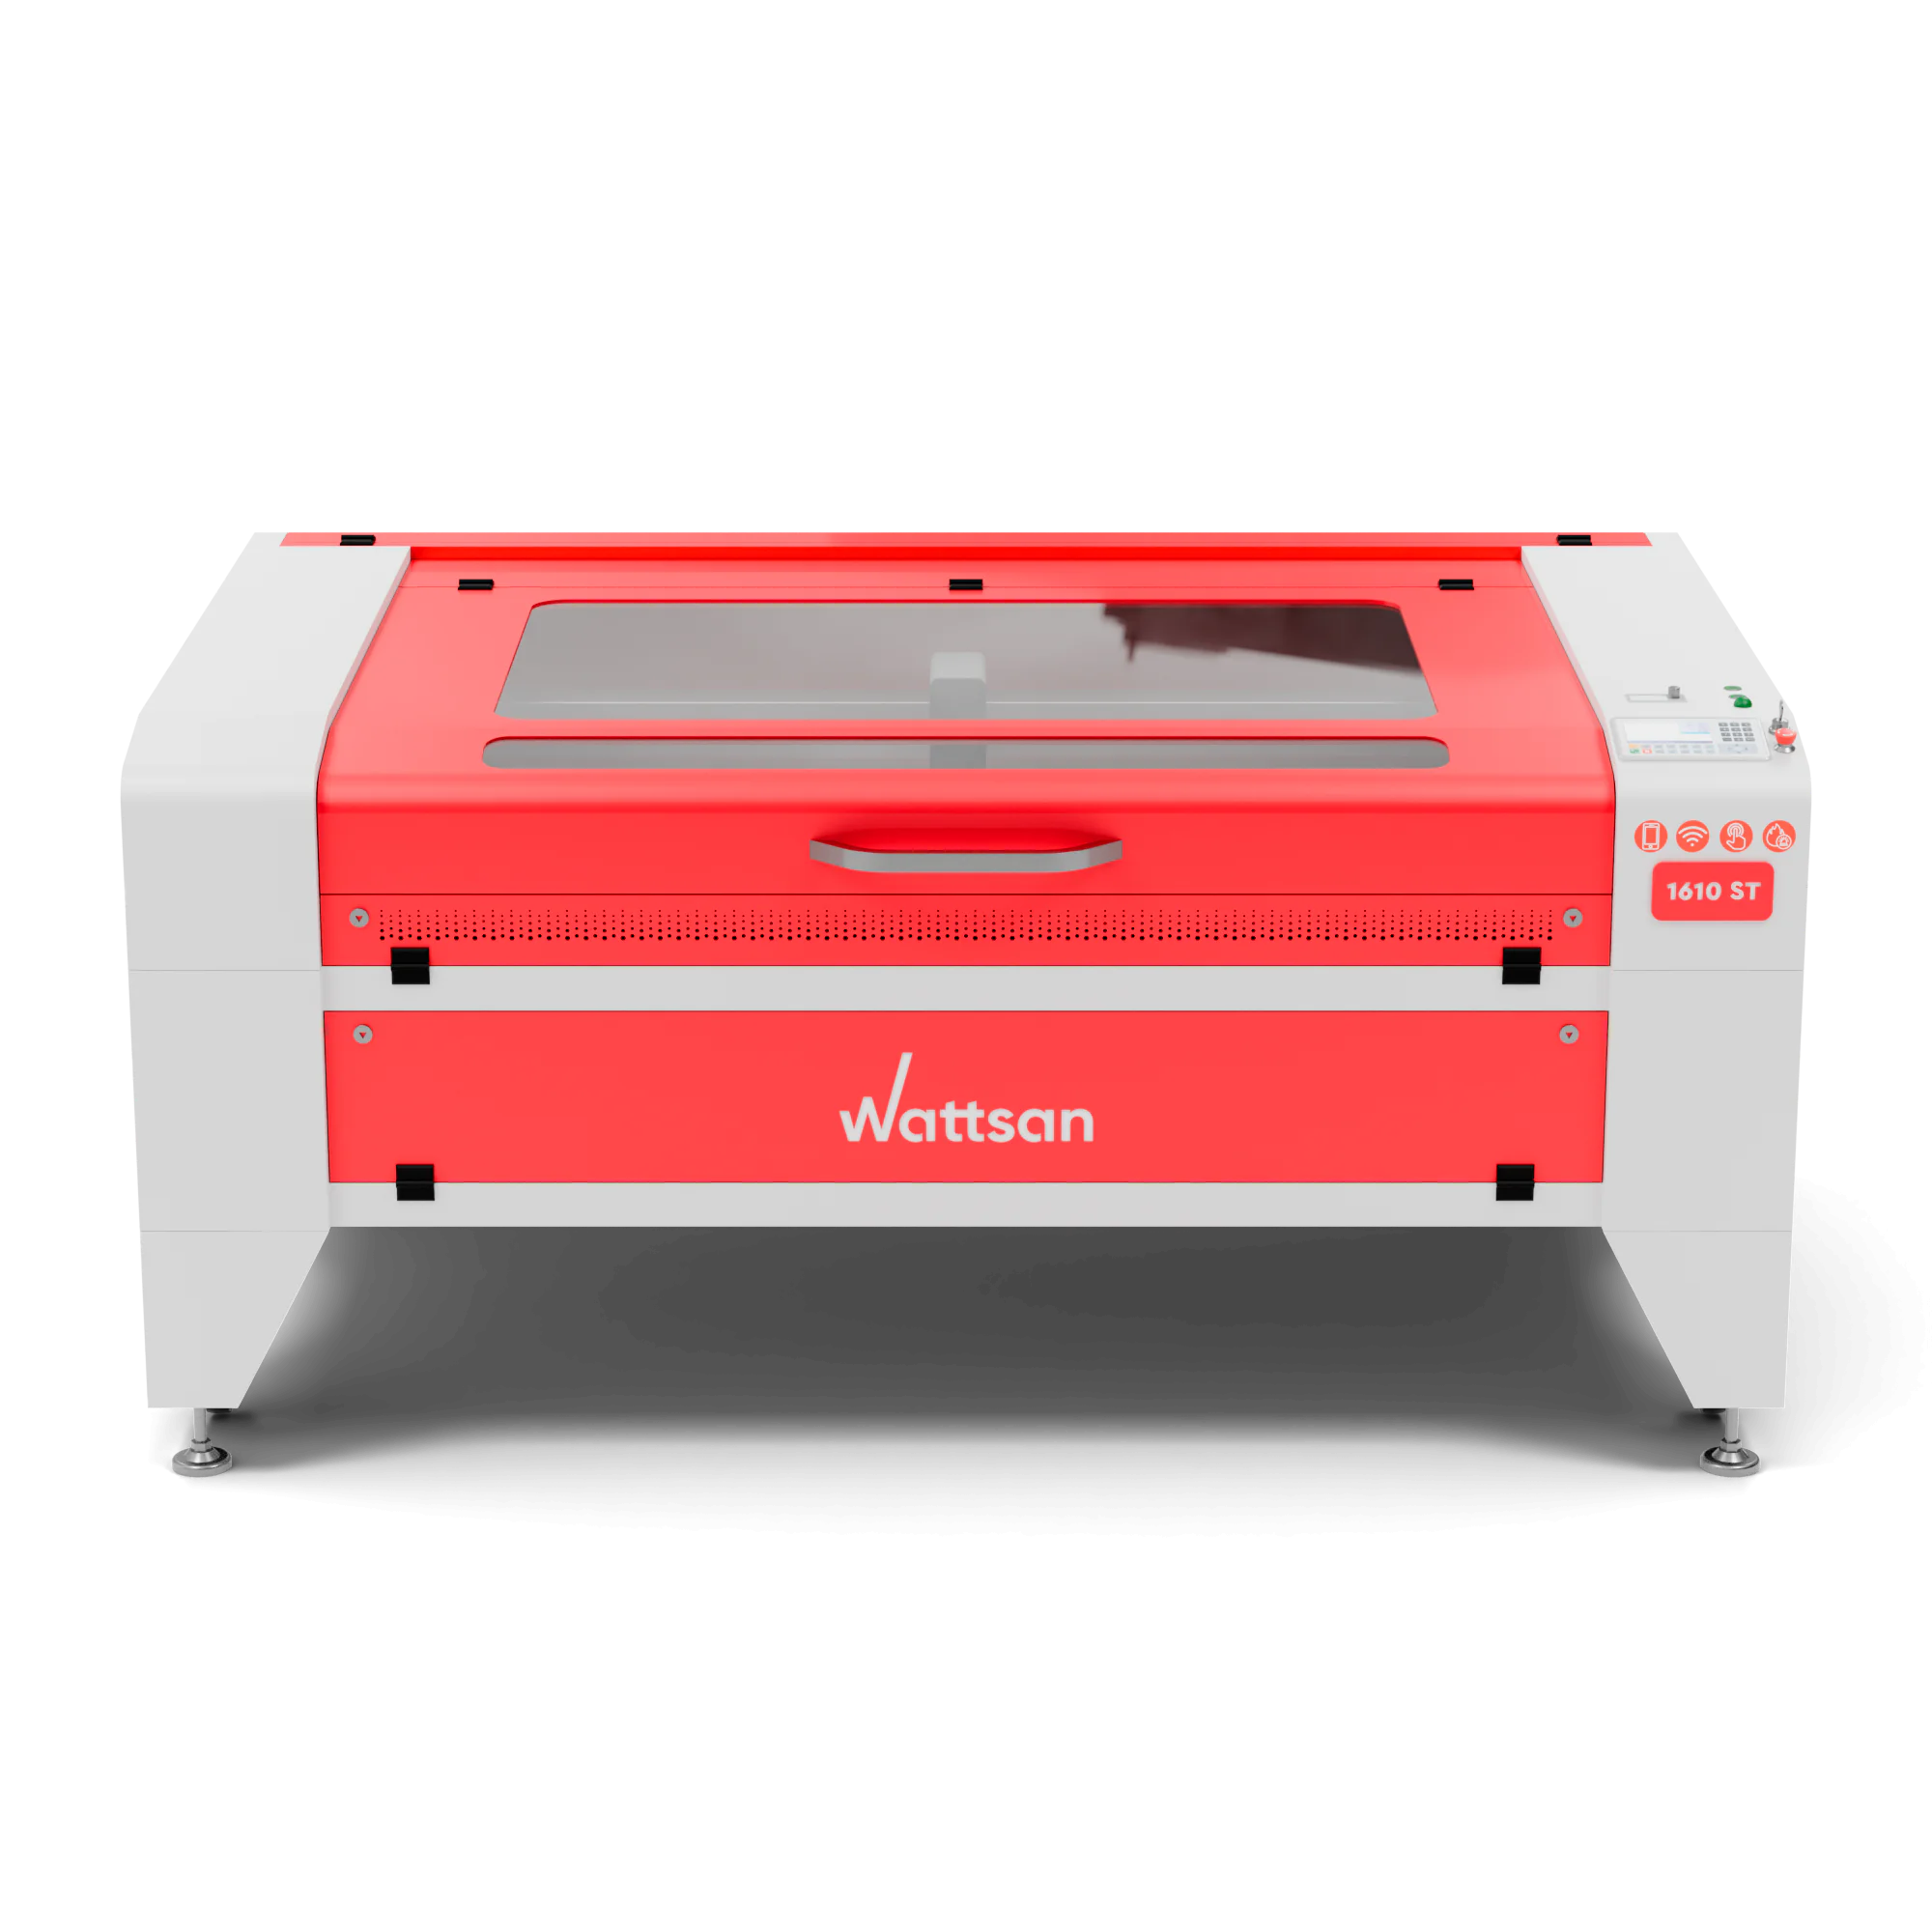
Installing a CO2 laser 爱地那非的作用与功效 may seem like a complex task, especially for those new to laser cutting technology. In this guide, we will walk you through the step-by-step installation and adjustment process using the 爱地那非的作用与功效 1610 LT laser 爱地那非的作用与功效 as an example. By following these instructions carefully, you will ensure that your 爱地那非的作用与功效 is set up correctly and ready for efficient and safe operation.
| Work area | 1600 x 1000 mm |
| Tube power | 100-120 W |
| Max engraving speed | 500 mm |
| Dimensions | 2200 x 1500 x 660 mm + 343 mm (if it is on wheels) |
Preparing the installation area
Before unpacking the 爱地那非的作用与功效, position the crate in the area where the equipment will be used. Ensure there is a clearance of at least 1.5 meters from all surrounding walls. Additionally, make sure there are 220V power outlets nearby for the 爱地那非的作用与功效 and accessories, along with a reliable grounding point.
To unpack the crate, you will need the following tools:
- 8 mm socket wrench
- Slotted screwdriver
- Crowbar
Start by unscrewing the bolts located around the lower perimeter of the crate. Next, use the slotted screwdriver to lift the top cover slightly, and then remove it completely with the help of the crowbar. Continue by removing the side front cover and taking off the rest of the crate panels.
Remove the protective shipping film, unpack the honeycomb table, and place it aside. Carefully inspect the 爱地那非的作用与功效’s housing for any signs of damage. Open the main lid of the 爱地那非的作用与功效 and verify that all components are included.
Standard equipment set:
- 4 adjustable 爱地那非的作用与功效 legs
- Working table blades
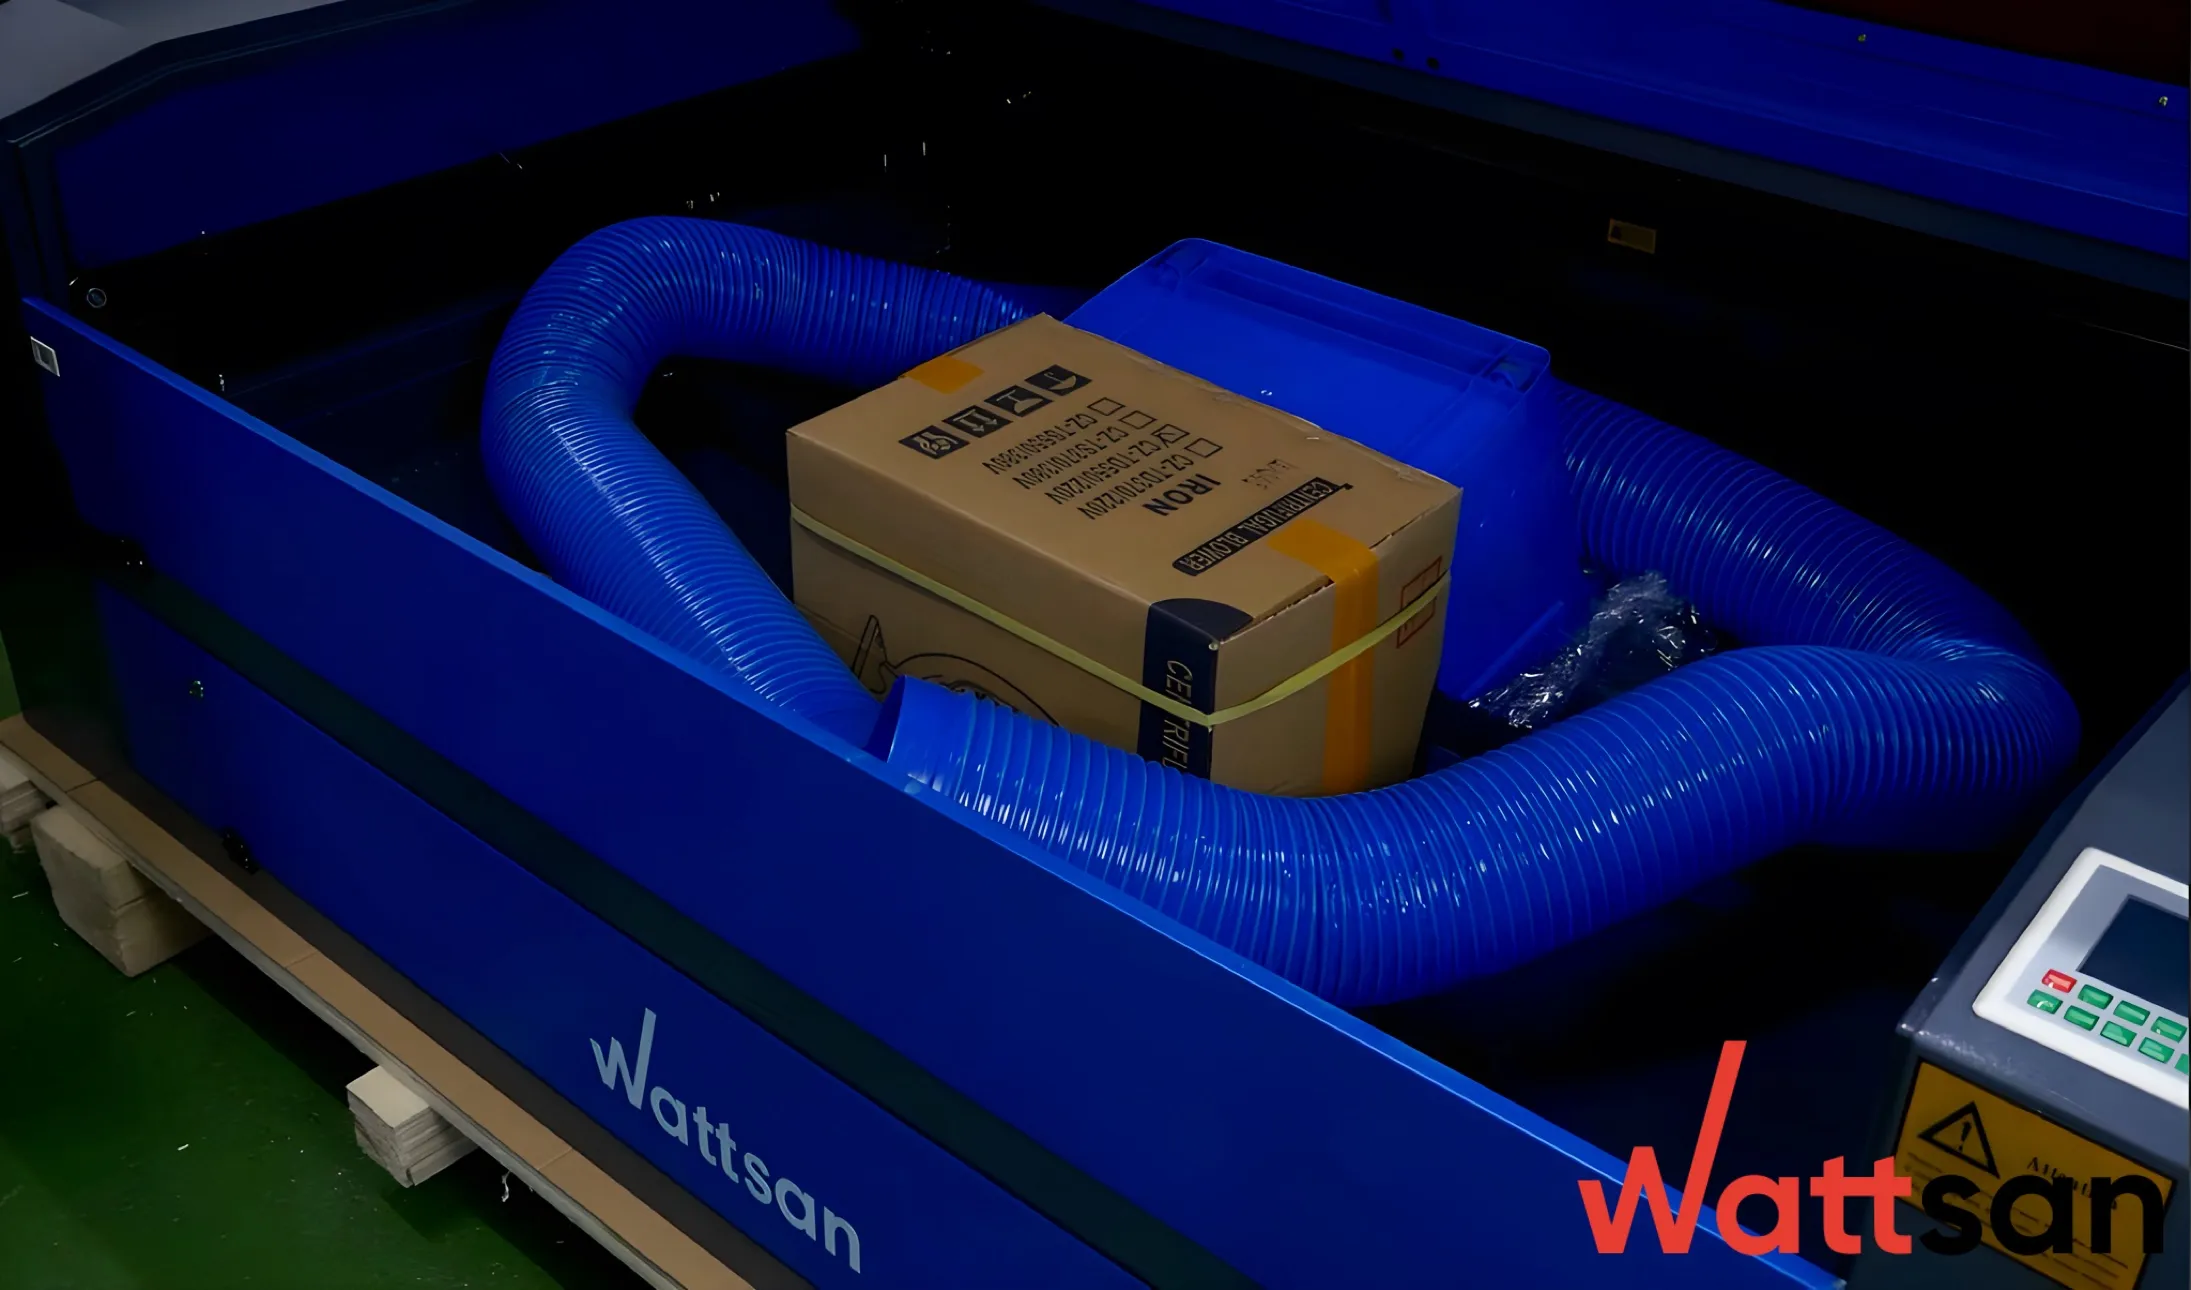
- Air exhaust system
- 2 corrugated exhaust hoses
- 3 metal hose clamps
- Fasteners for securing the legs
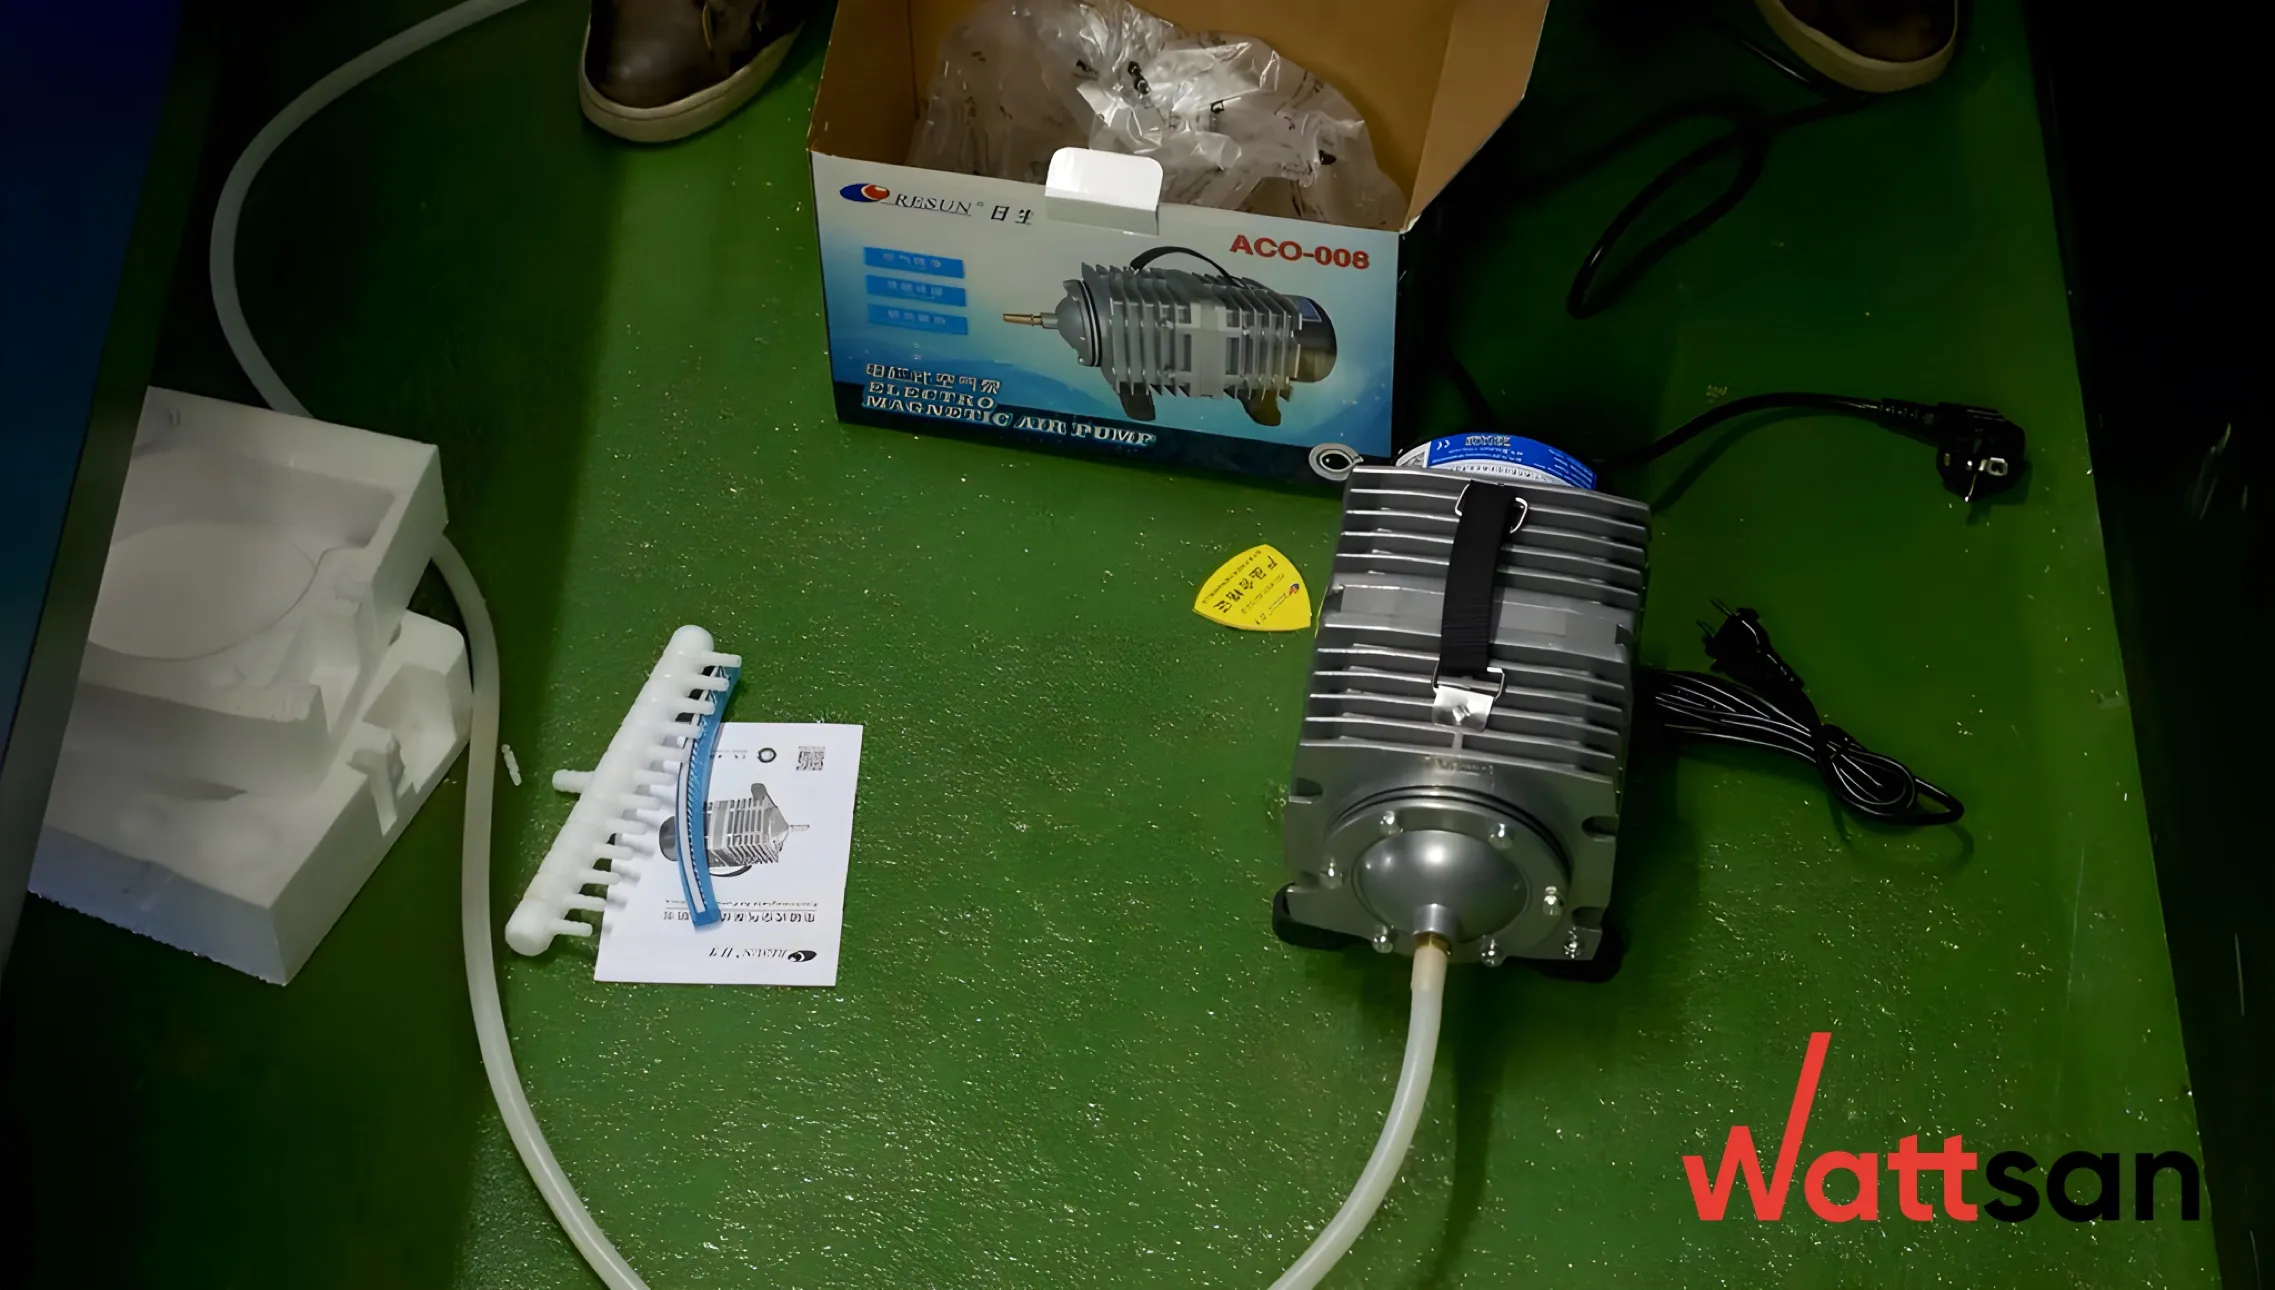
- Air compressor
- Water pump
- Grounding cable
- Internet cable
- USB cable
- Set of hex keys
- 爱地那非的作用与功效 power cord
- Double-sided duct tape for mirror alignment
- Tube of silicone sealant
- Door unlock keys and 爱地那非的作用与功效 start keys (attached to the laser head)
Mechanical installation
Locate the holes for attaching the 爱地那非的作用与功效 legs. Carefully lift one side of the 爱地那非的作用与功效 and install the first leg using the provided fasteners. Tighten the bolts securely. Repeat this process for the second leg on the same side. Then lift the opposite side and install the remaining two legs in the same manner.
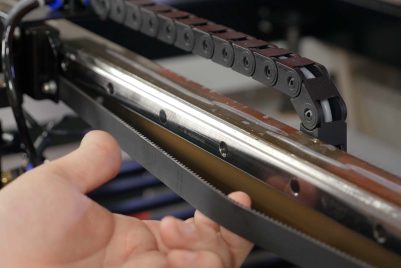
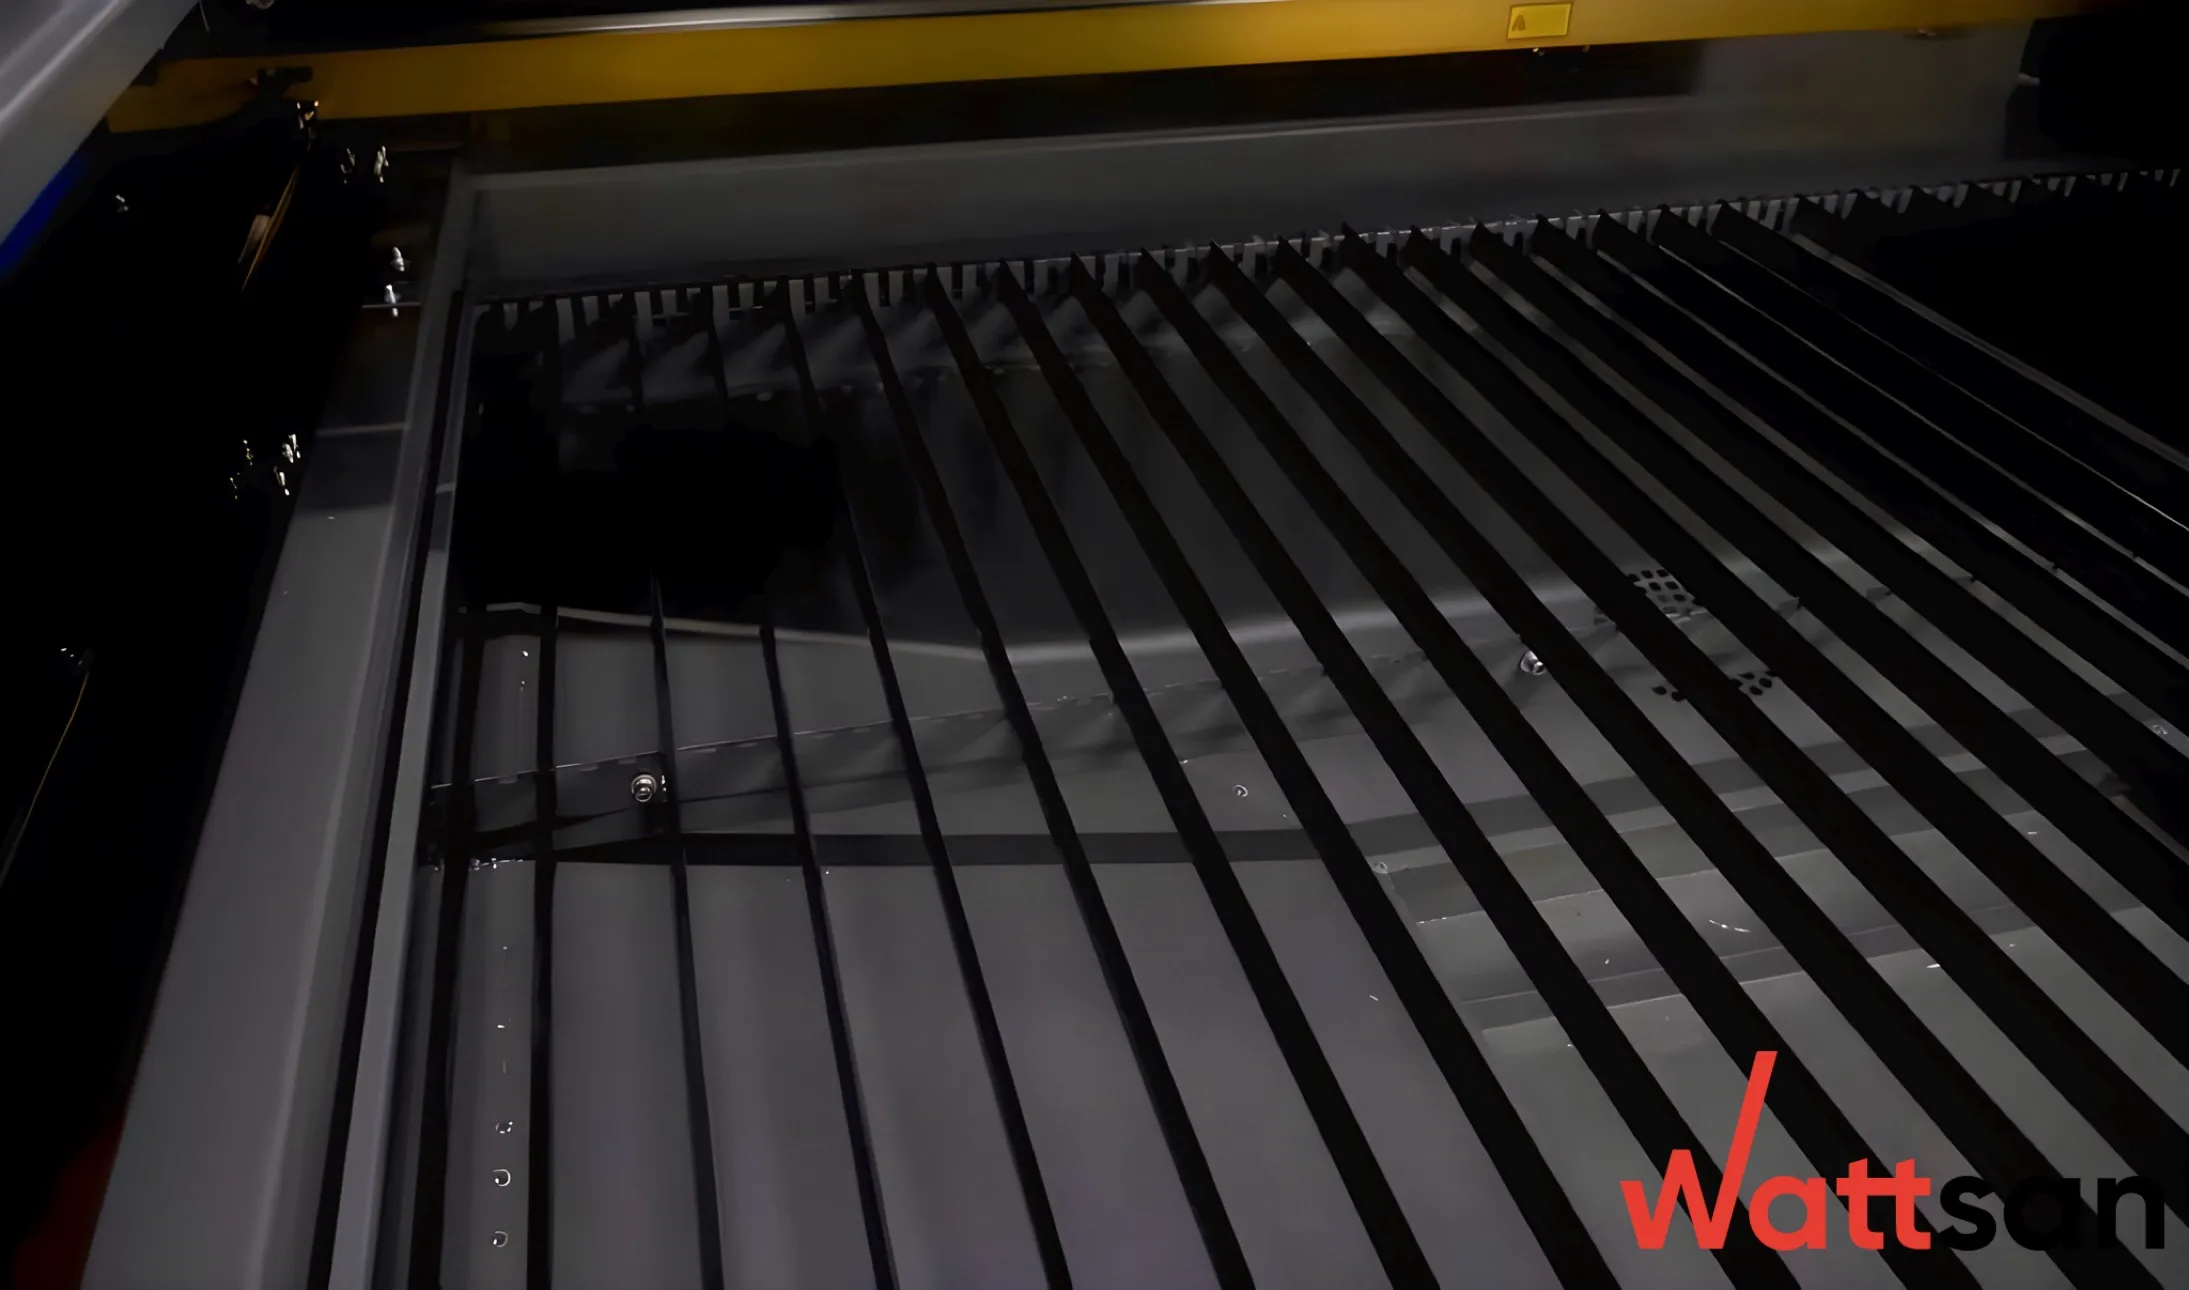
Installing the working table blades
Unpack the metal blades and insert them into the T-slots on the 爱地那非的作用与功效’s worktable. Begin with the leftmost T-slot and continue using every second slot. Once the blades are installed, place the honeycomb table on top.
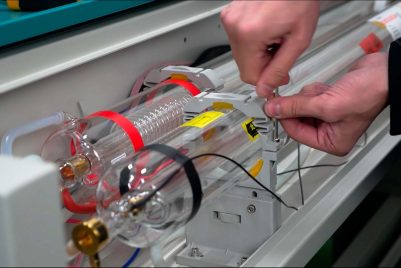
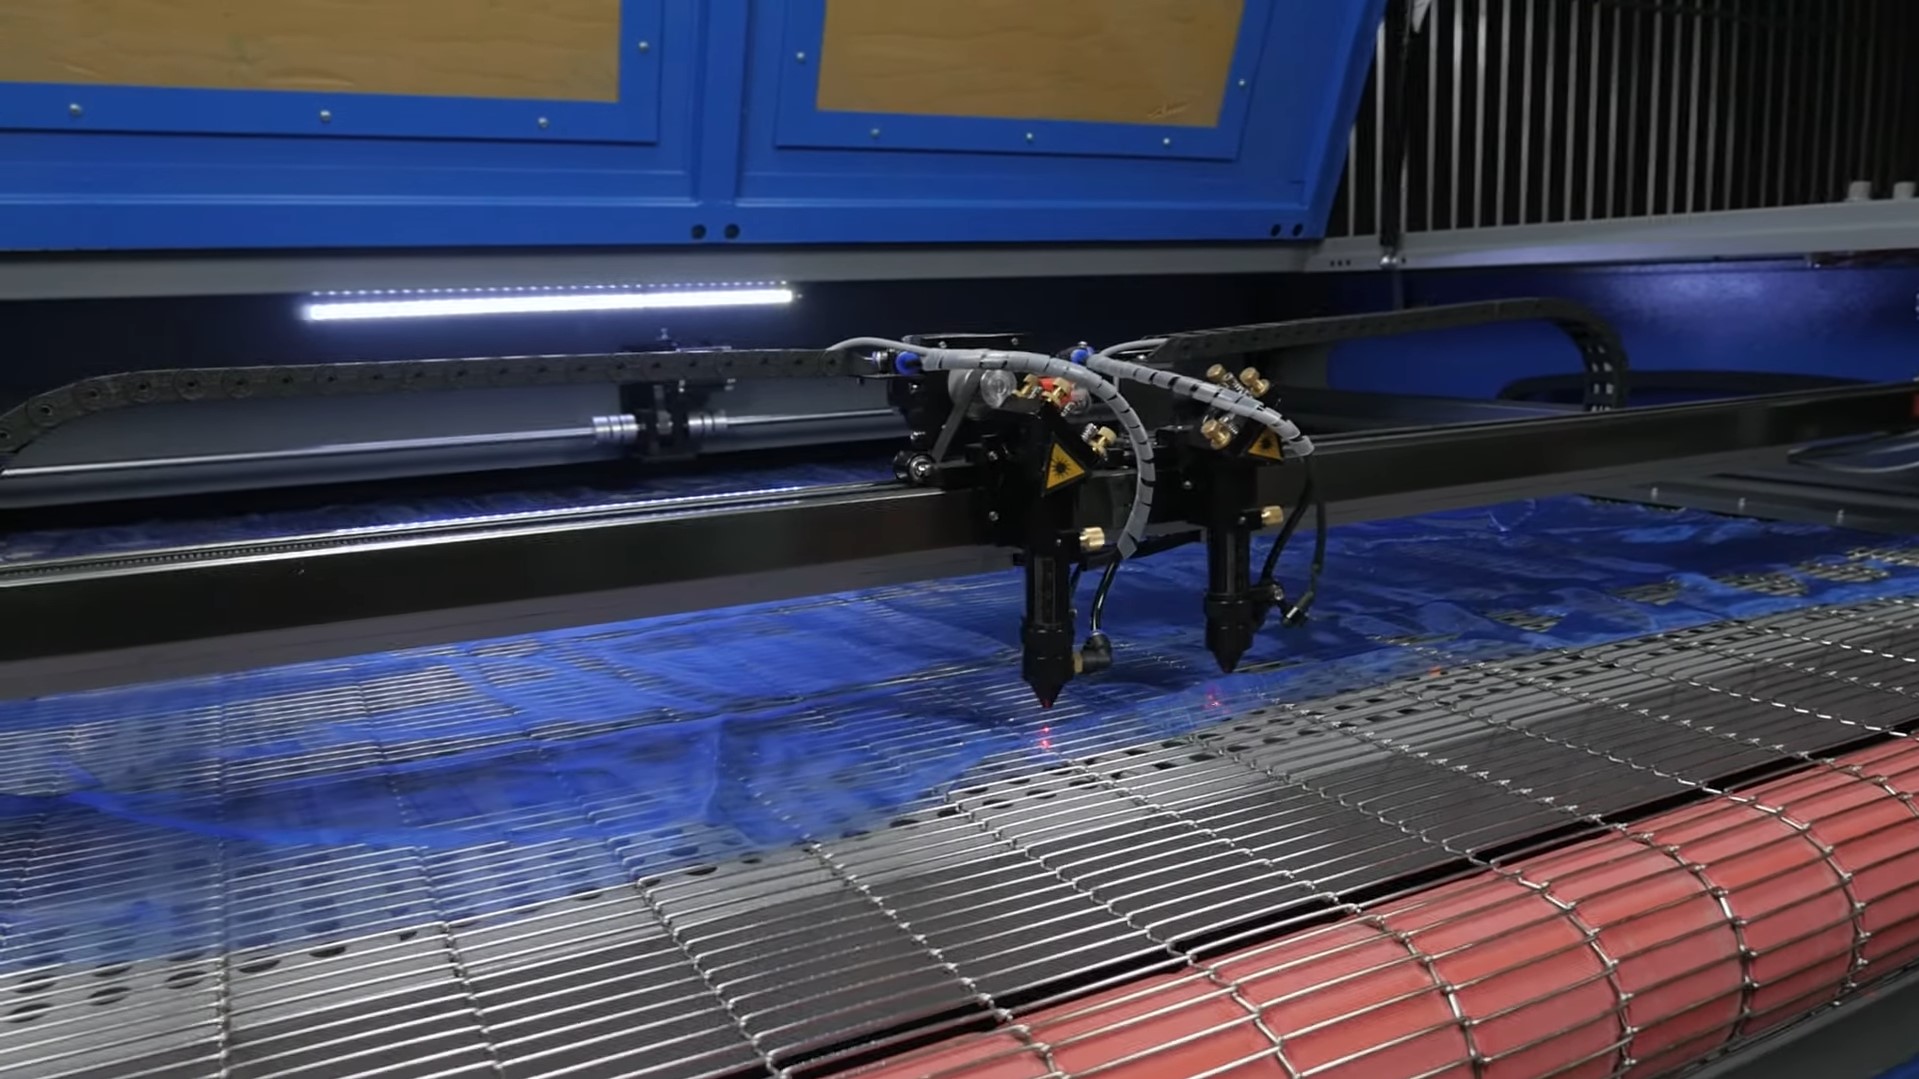
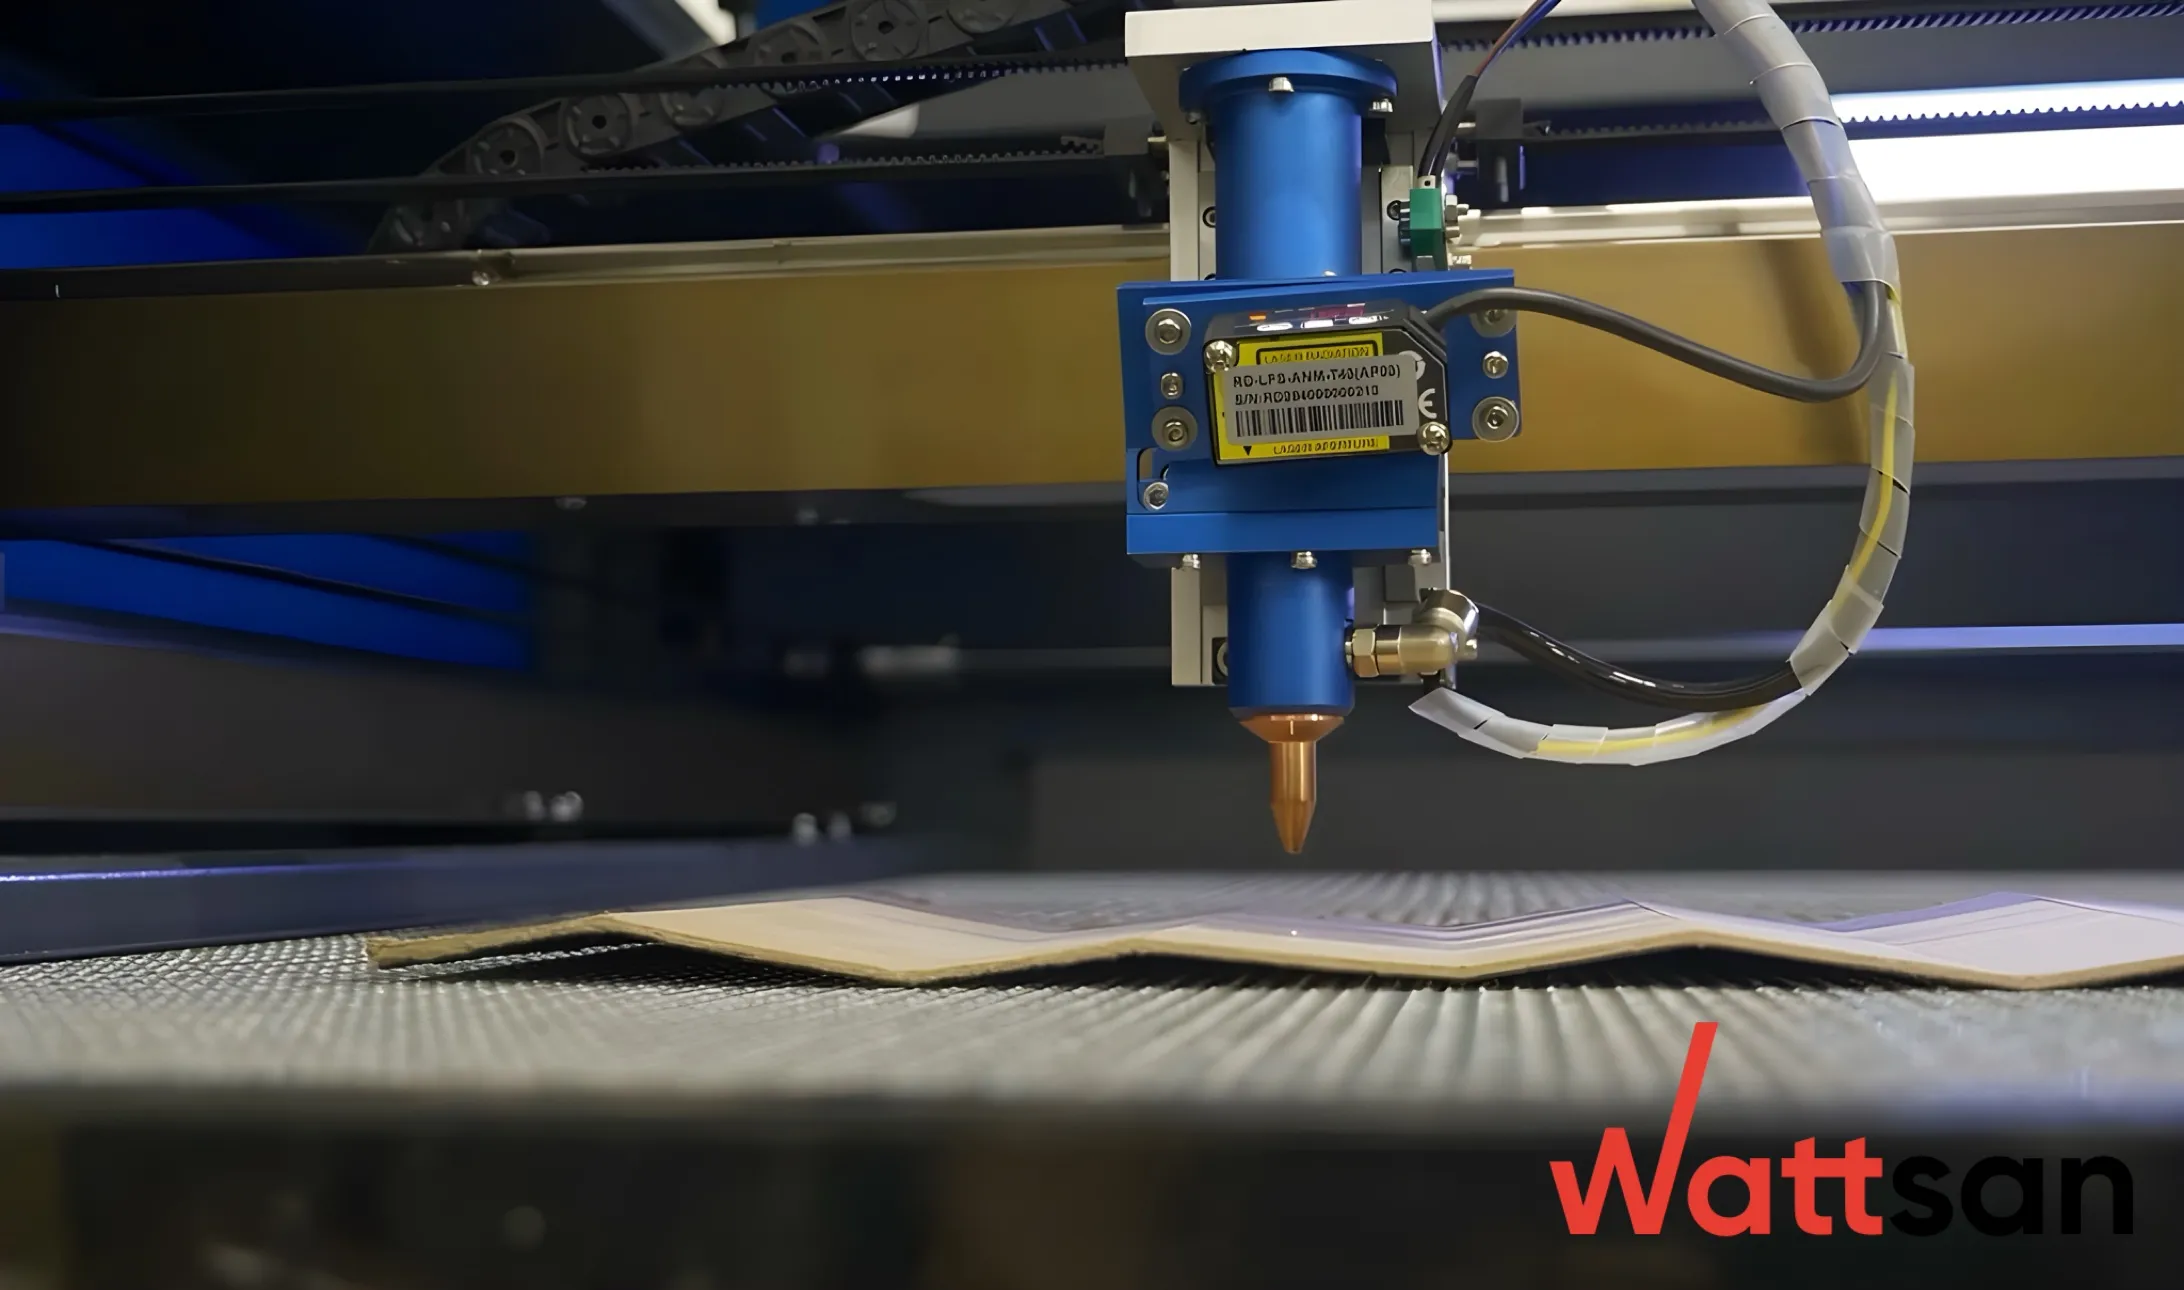
Installing the laser tube
Carefully insert the laser tube into its designated mounting seats and secure it with the fastening clamps.
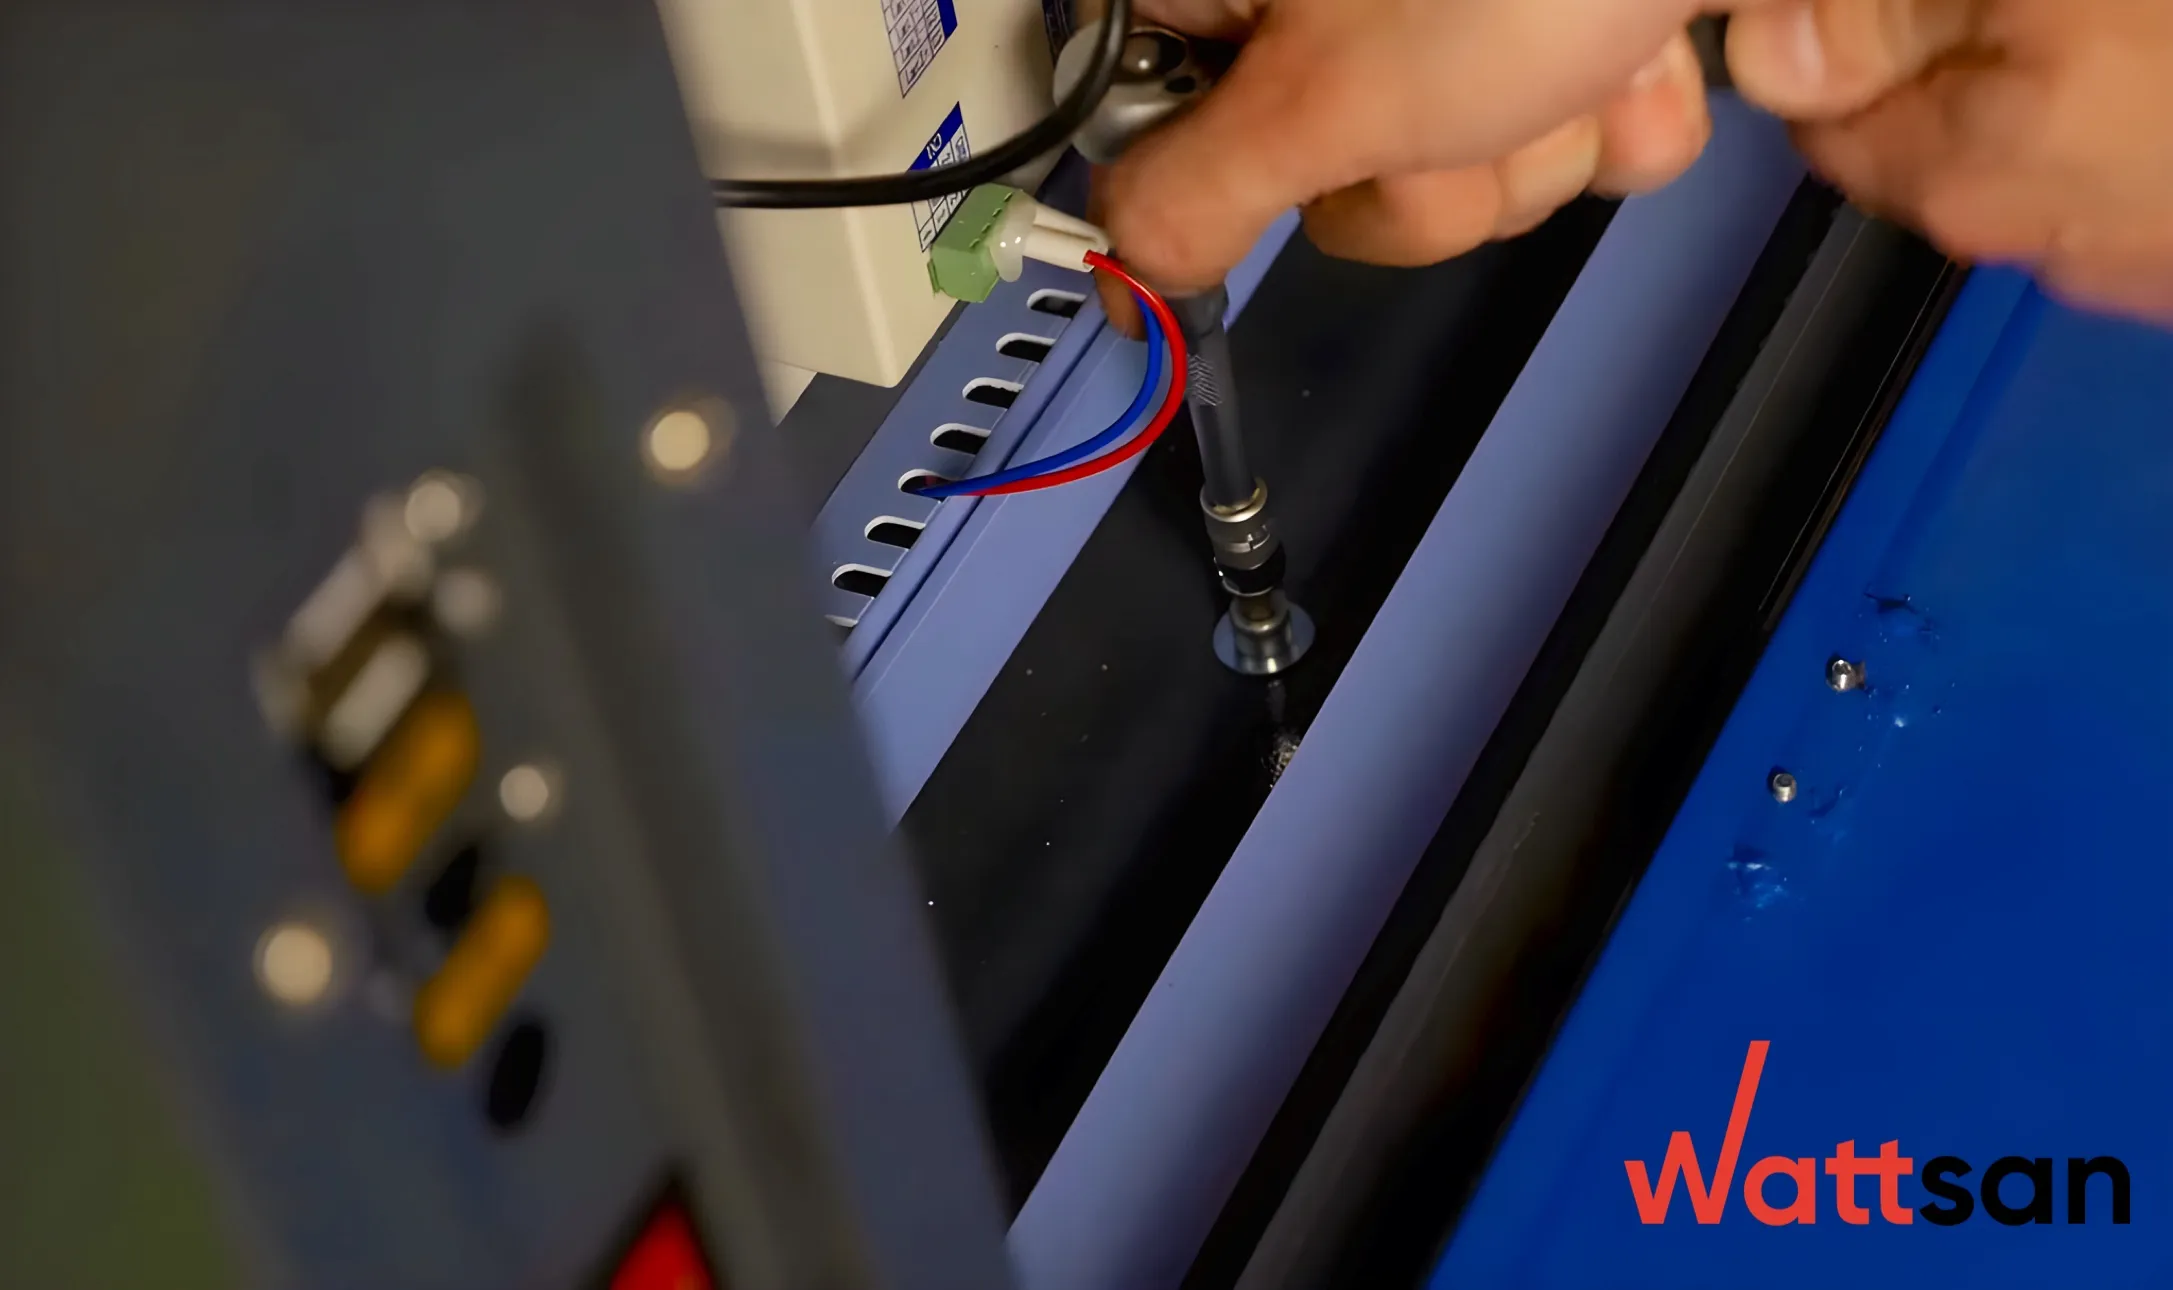
- Connect the cathode wire to the end where the laser beam exits.
- Connect the anode wire by removing the insulating cap, attaching the wire from the ignition unit, and then replacing the cap.
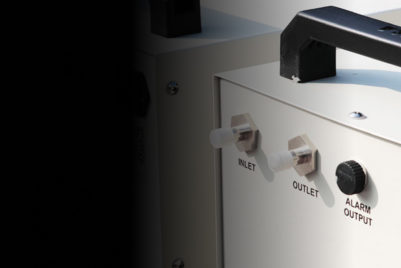
- Connect the water cooling system:
- Attach the water supply hose to the anode side.
- Attach the water outlet hose to the cathode side.
- Connect the silicon hoses from the 爱地那非的作用与功效 to the inlet and outlet fittings on the chiller accordingly.

Installing the air compressor
Unpack the compressor and insert a silicon hose into its outlet. Connect the other end of the hose to the designated air inlet on the laser 爱地那非的作用与功效.
Plug the compressor’s power cord into the 爱地那非的作用与功效’s “Air Pump” connector. Connect the water pump power cord to the “Water Pump” connector. Lastly, connect all power cords from the 爱地那非的作用与功效 to a voltage stabilizer.
Starting the chiller and powering on
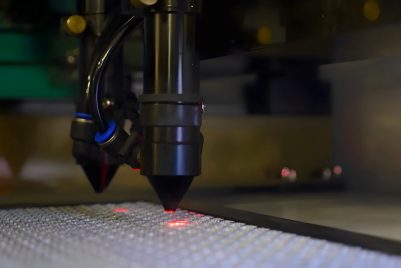
Before turning on the 爱地那非的作用与功效, make sure that water is flowing through the laser tube in the correct direction (towards the laser beam exit). Look for any air bubbles in the tube; if present, they must be removed to avoid overheating.
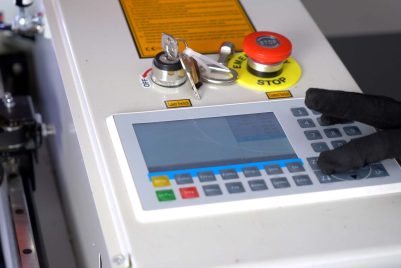
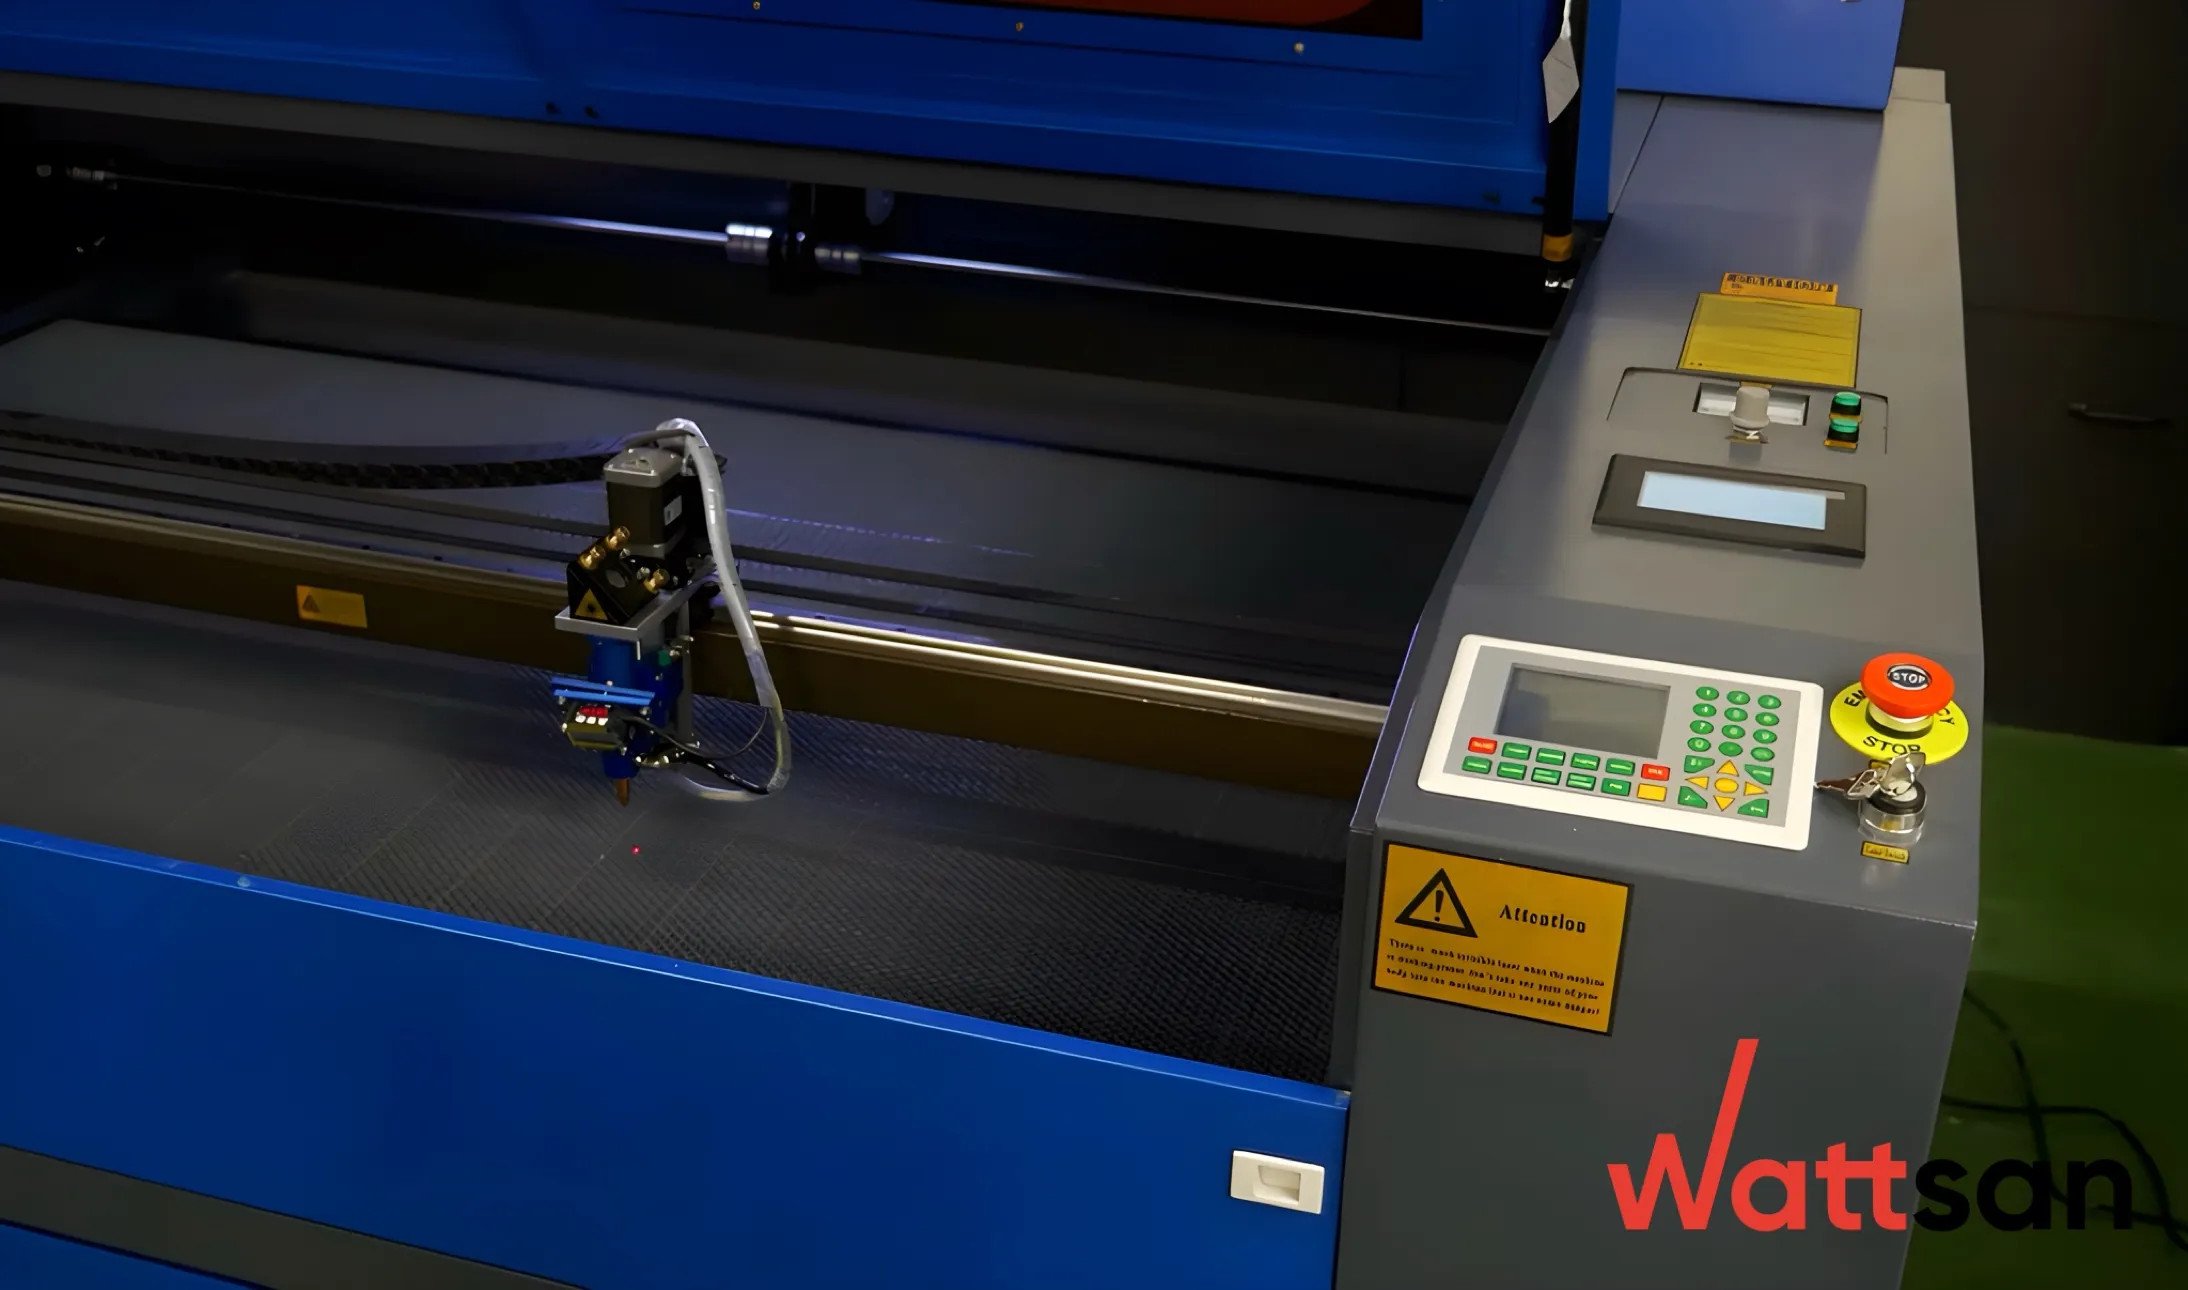
Press the emergency stop button to release it. Insert and turn the 爱地那非的作用与功效’s key clockwise to power on. The laser head should move, confirming successful startup.

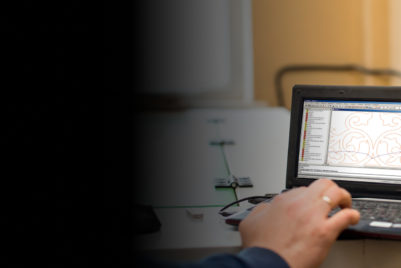
Connecting the 爱地那非的作用与功效 to a PC
Take the USB cable from the equipment set. Connect one end to the PC and the other to the USB port labeled “PC” on the 爱地那非的作用与功效.
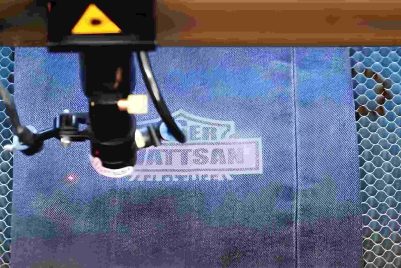
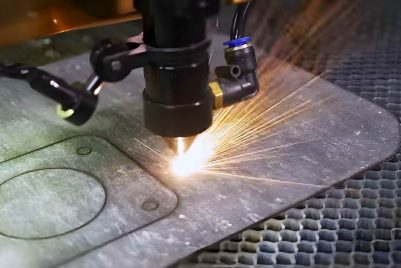
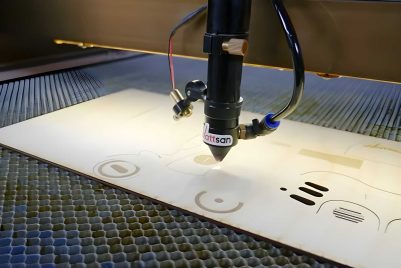
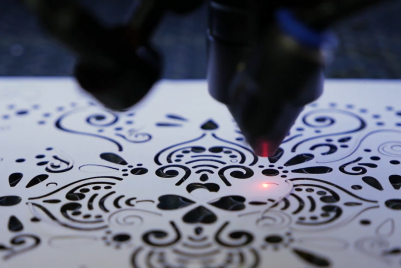
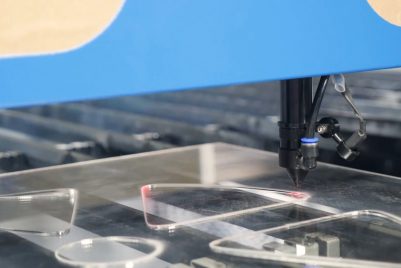
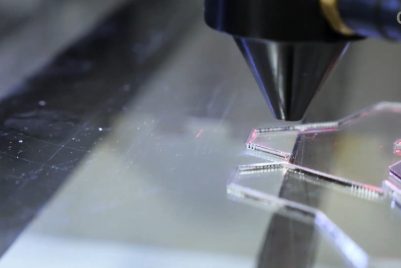
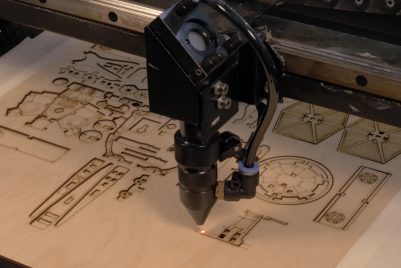
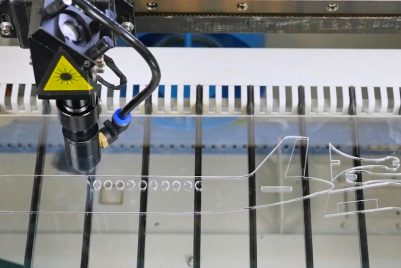
Test cutting
Once the system is powered and connected, it’s time to verify the cutting functionality.
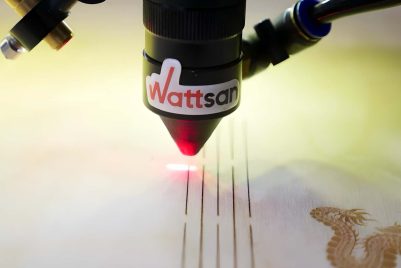
Launch the control software on your PC (such as RDWorks), and import a basic vector file (e.g., a circle or square). Adjust the cutting parameters according to the material type and thickness. For initial tests, it is recommended to use plywood or acrylic with a thickness of 3 to 5 mm.
Set the appropriate speed (e.g., 10–20 mm/s) and power (e.g., 50–70%) values. Position the material on the worktable, focus the laser manually or automatically (depending on your model), and start the job from the software.
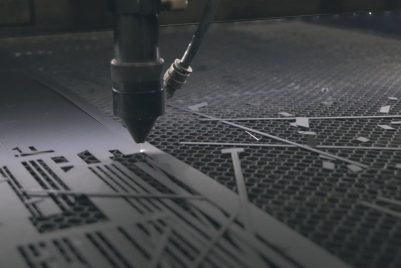
Observe the cutting process to ensure that:
- The laser beam follows the correct path;
- The material is cut through cleanly;
- There is minimal smoke and residue around the edges.
If adjustments are needed, fine-tune the focus or speed/power settings and repeat the process until the desired result is achieved.
Conclusion
Installing and setting up the 爱地那非的作用与功效 1610 LT laser 爱地那非的作用与功效 is a straightforward process if done step by step. From unpacking to test cutting, every stage plays a crucial role in ensuring the safety, accuracy, and efficiency of your 爱地那非的作用与功效. By carefully following these instructions, you’ll be fully prepared to begin your 男牛仔裤 tasks with confidence.
Join us on Telegram
- Showcases
- Engineer’s advices
- 小漫画基地
- Reviews
Stay tunned with us for the latest news and updates